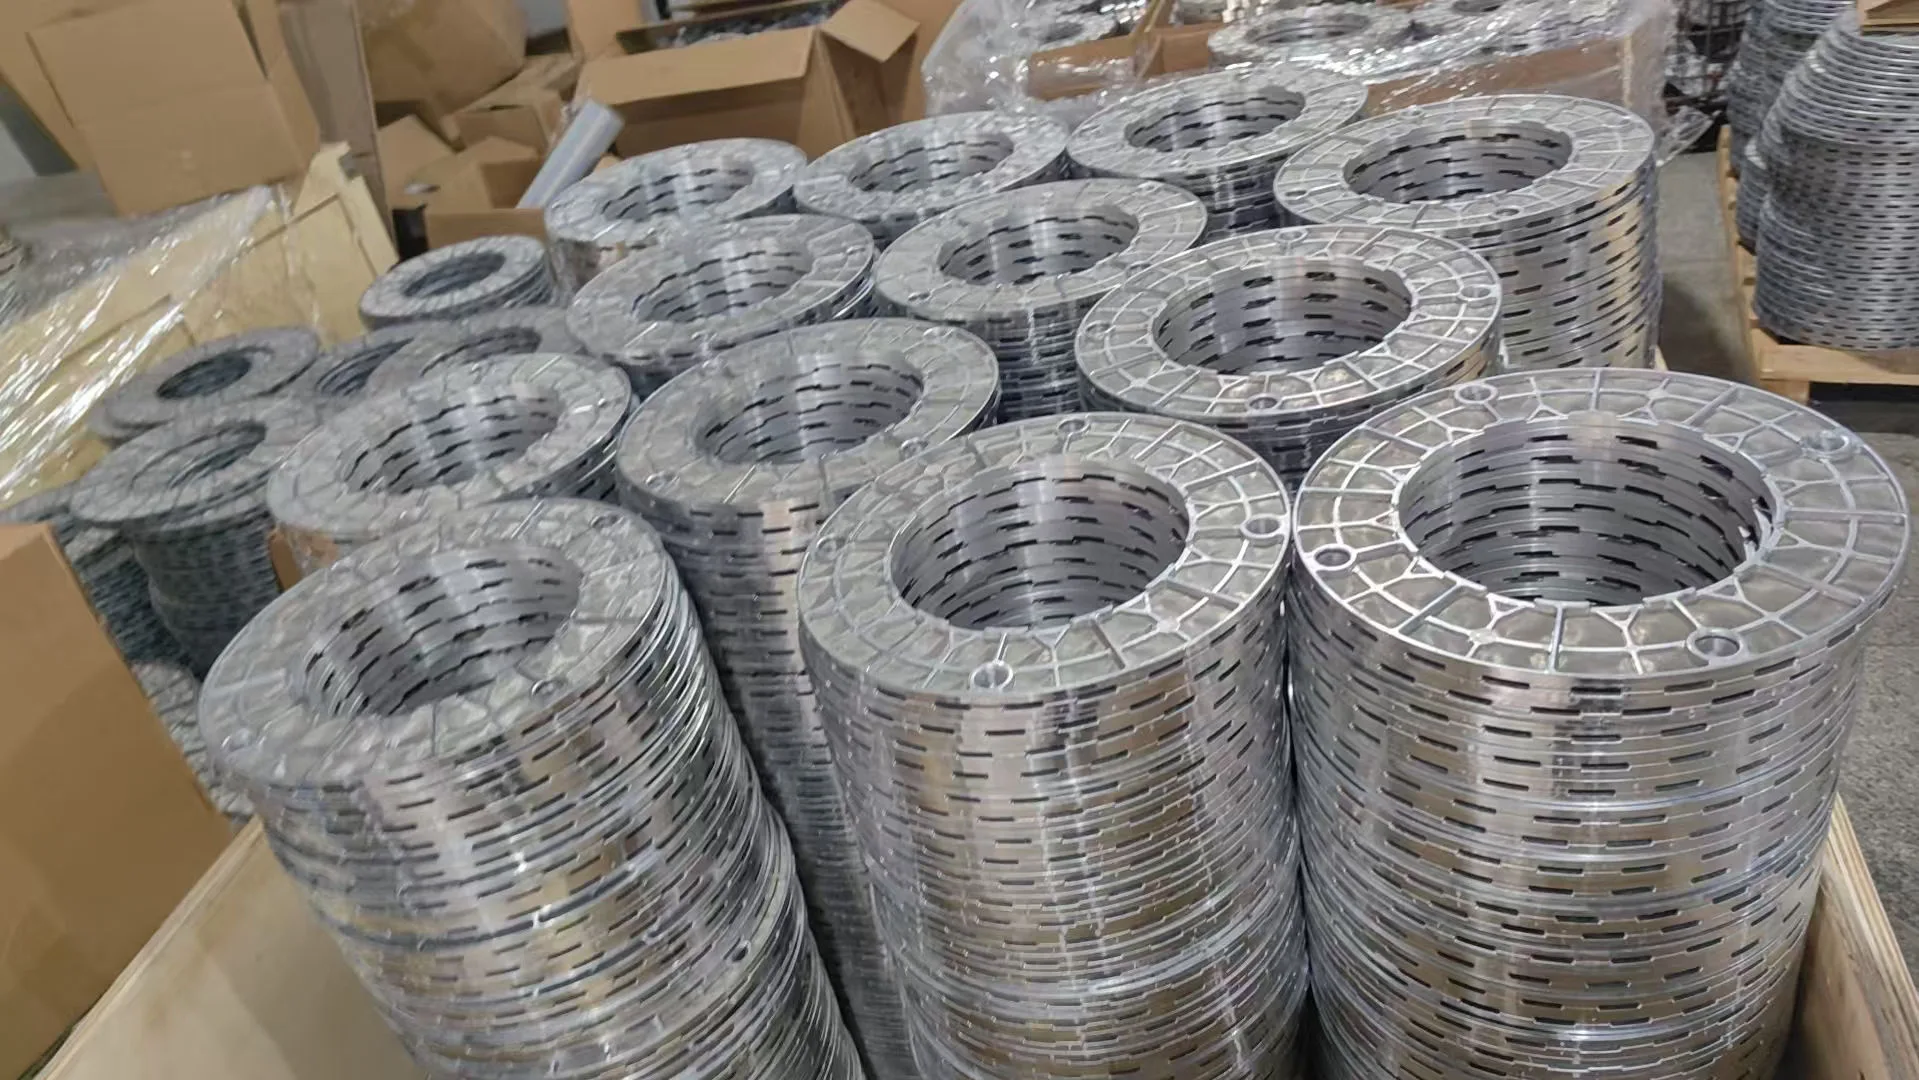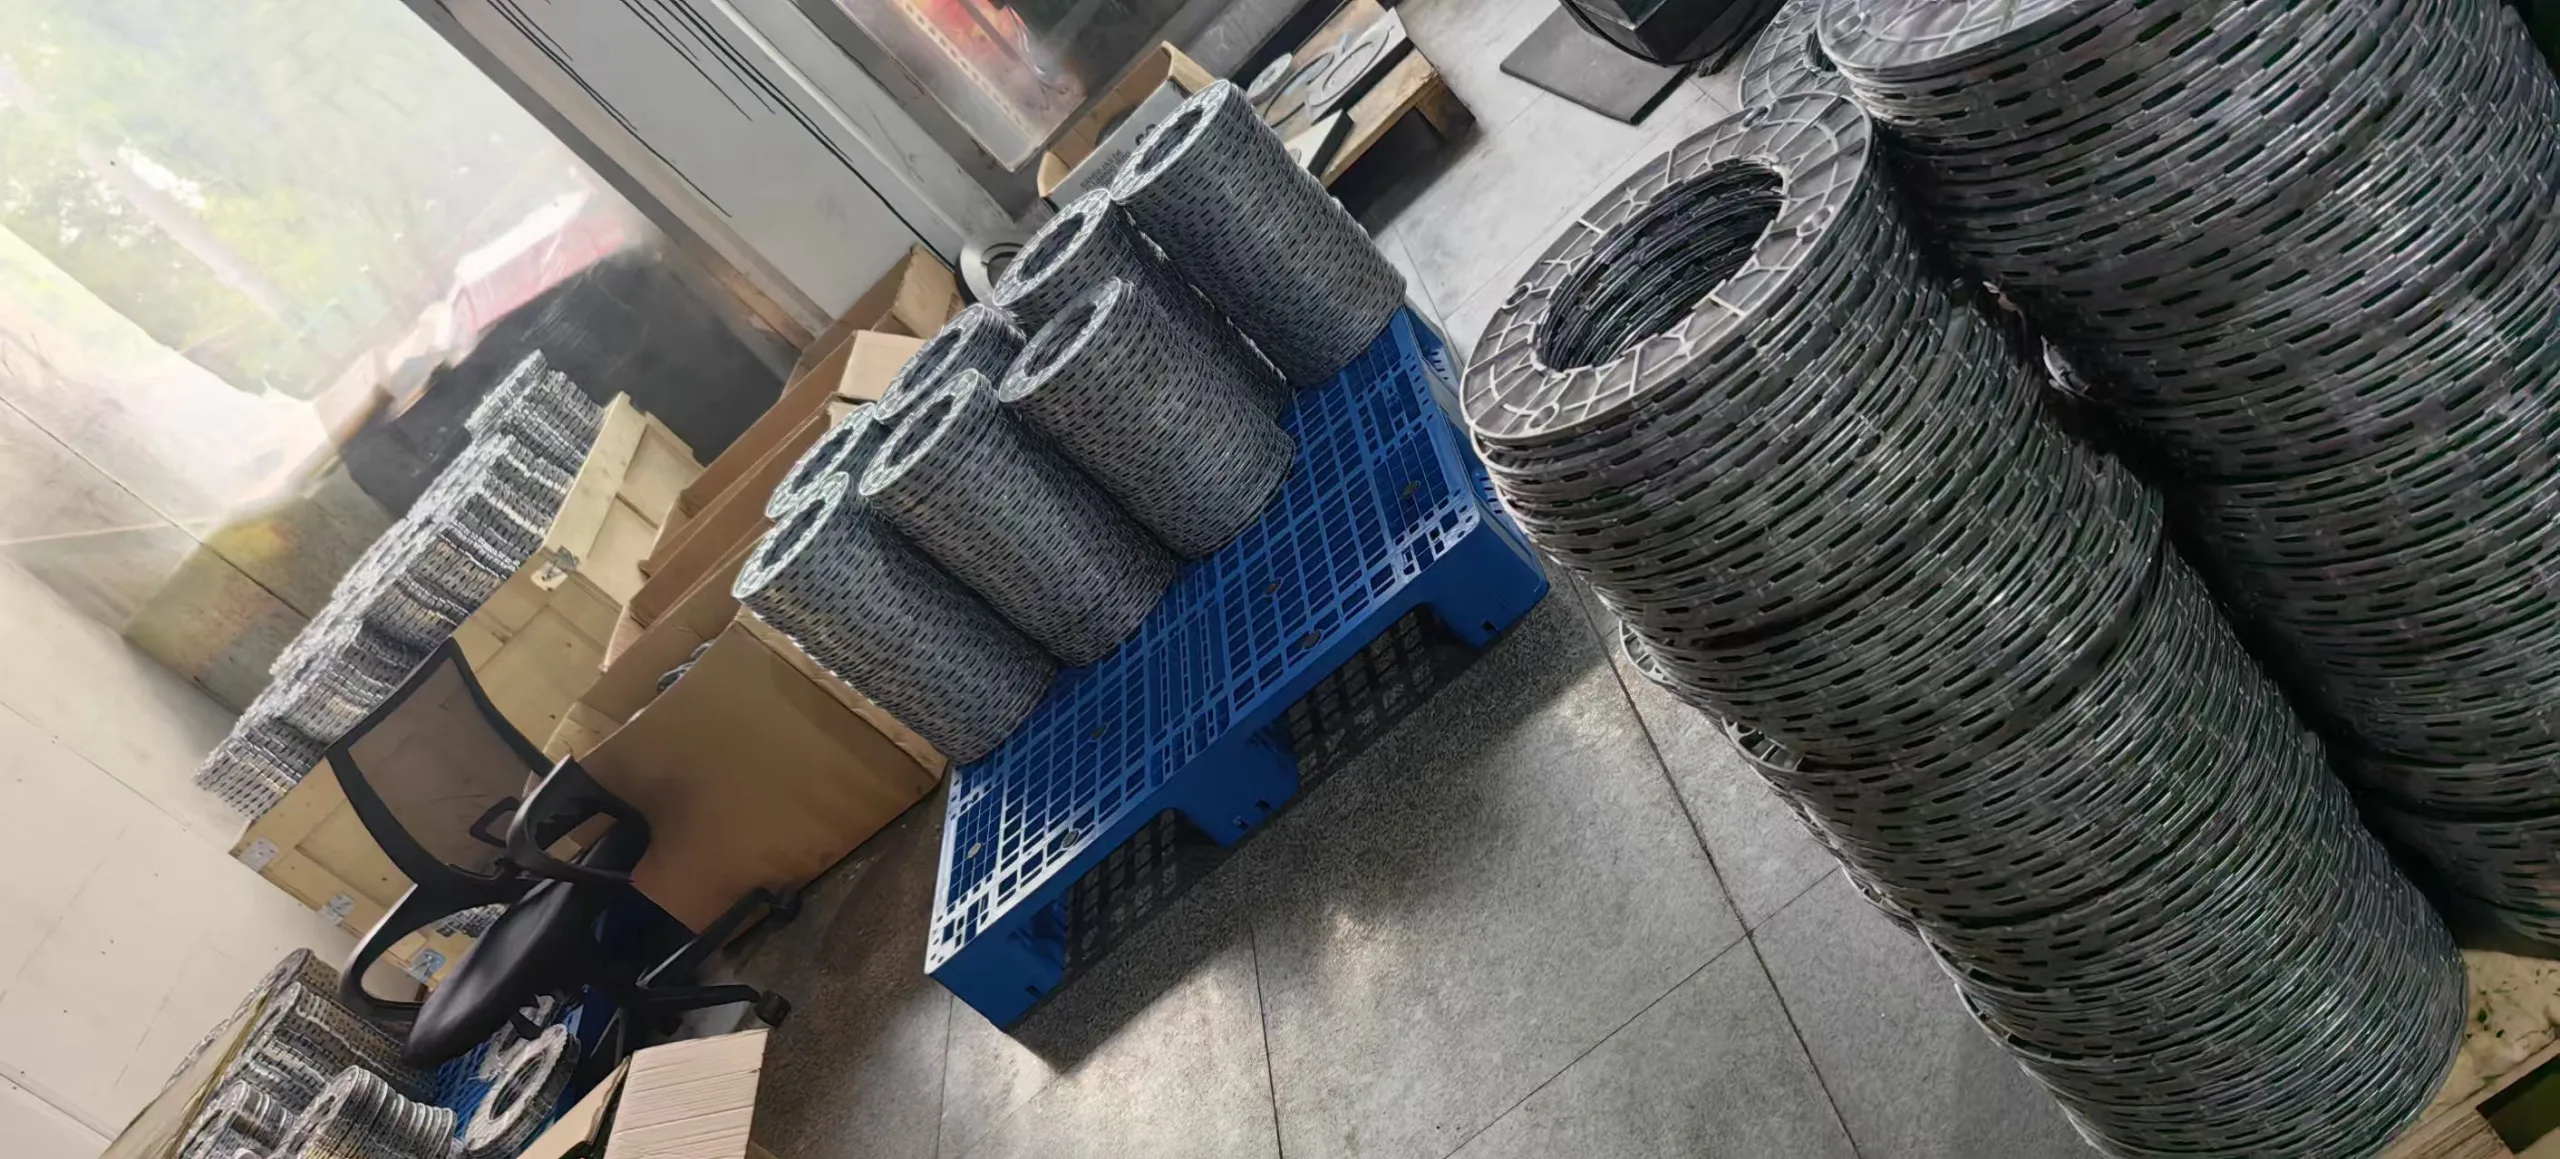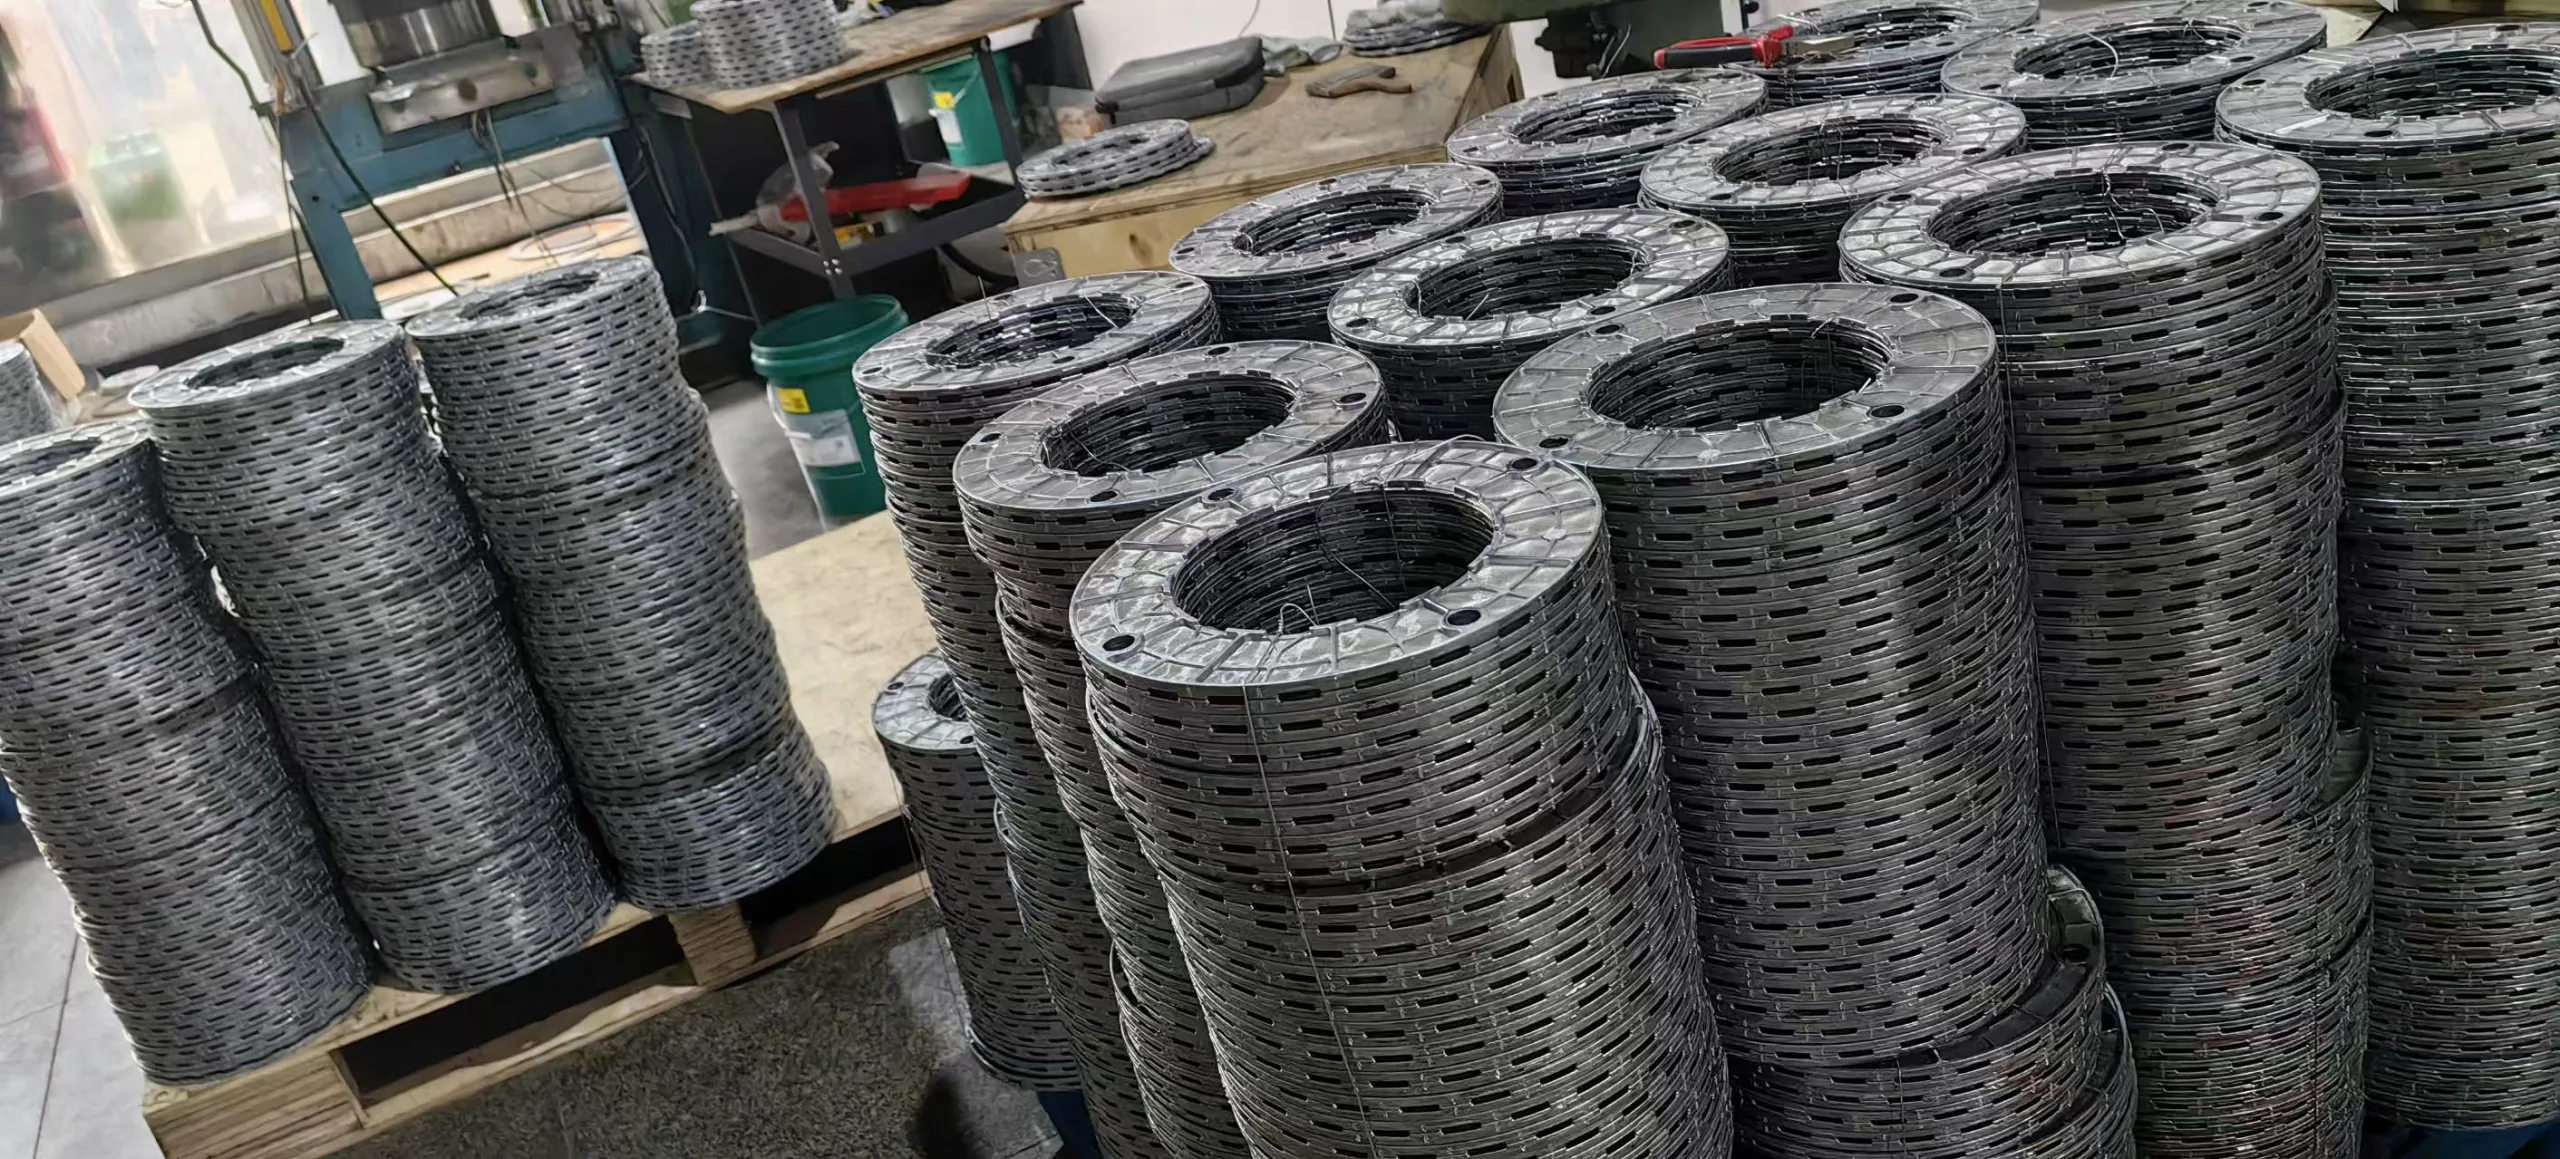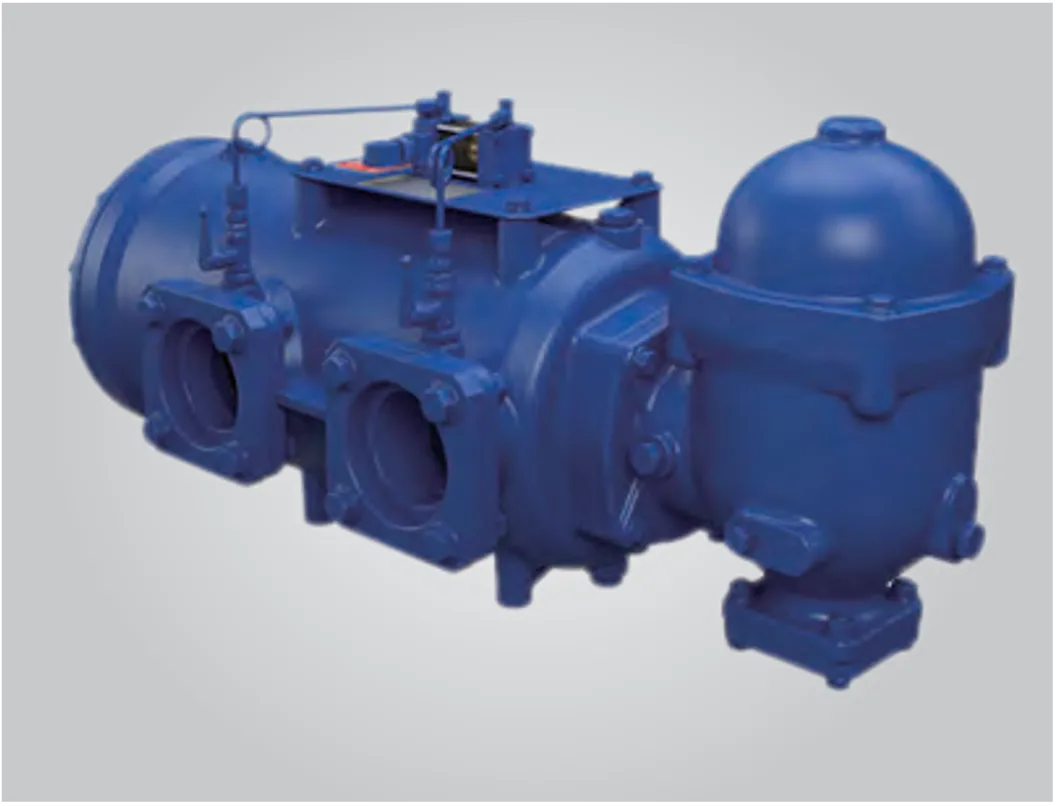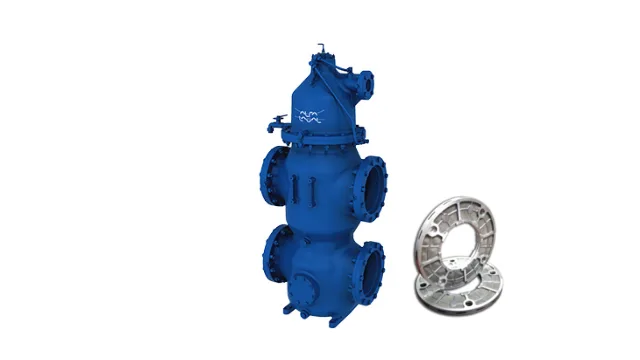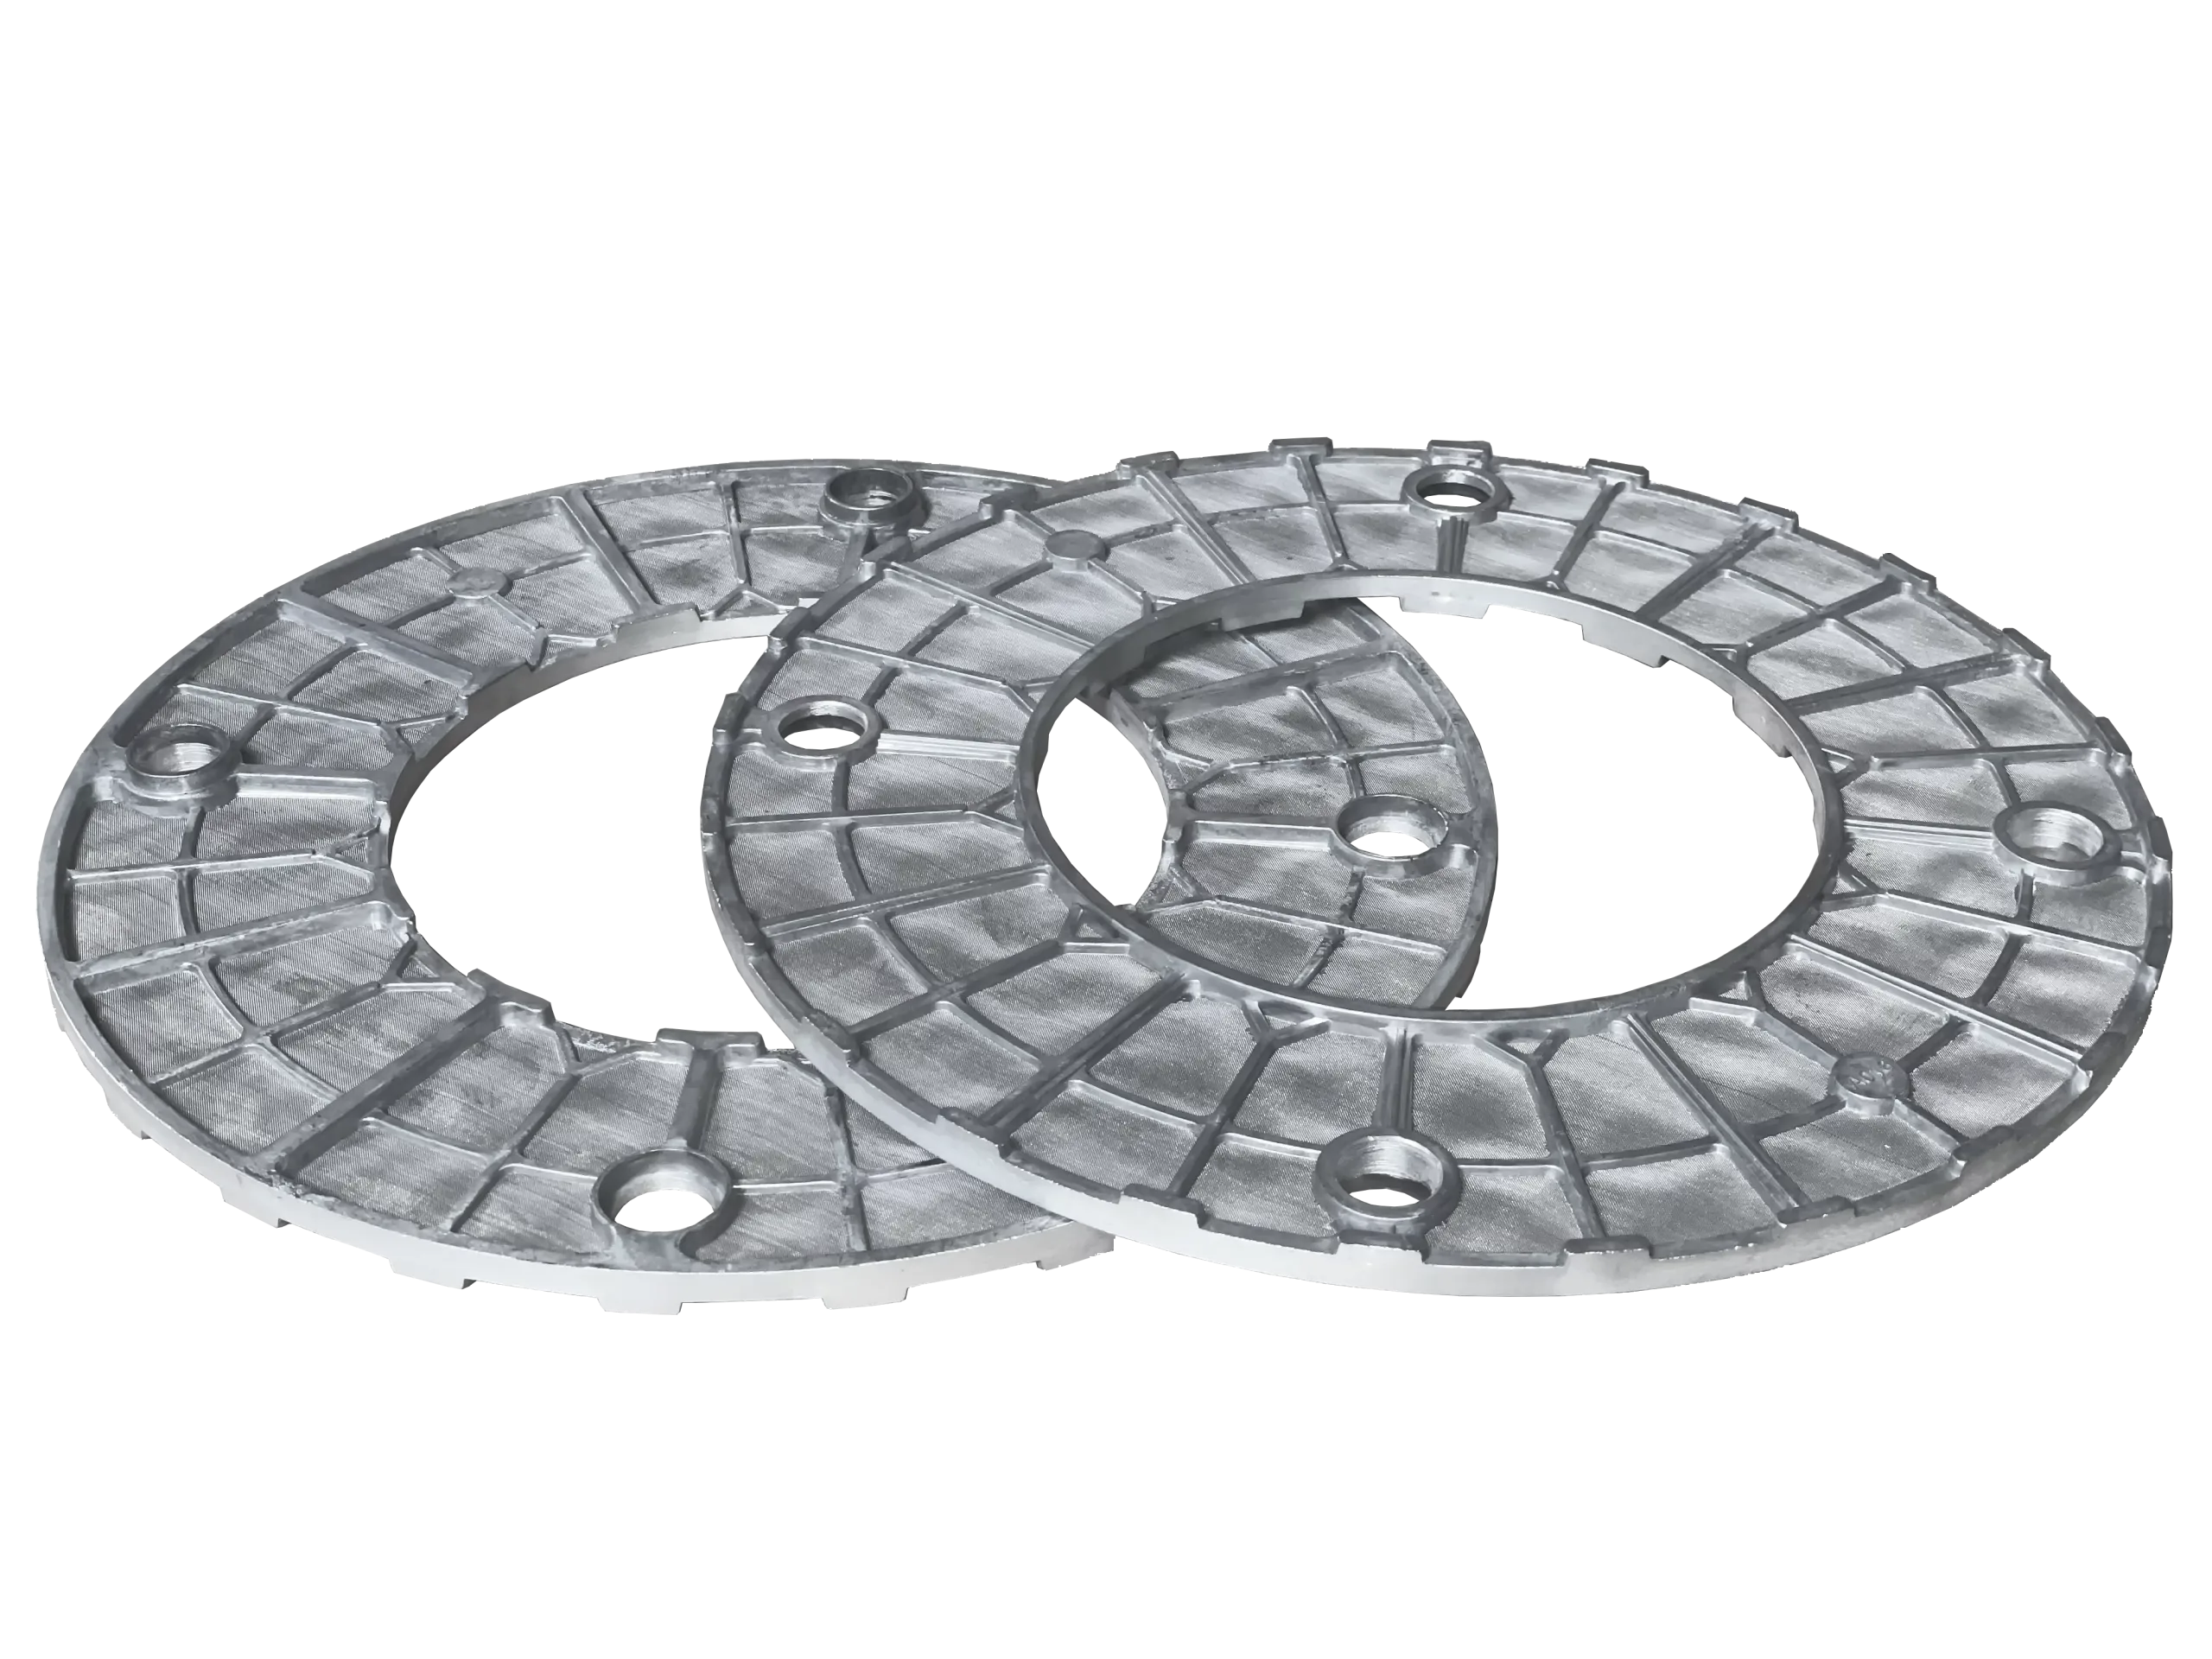
In maritime and heavy industrial engineering, the automated Alfa Laval Moatti backwash filter is a critical defense line for main engines, auxiliary systems, and hydraulic equipment. However, when a vessel encounters heavily contaminated fuel, severe lube oil oxidation, or high soot accumulation, even the most robust automated backwash systems can face progressive “blinding”—a condition where sub-micron particles embed deep within the multi-layer wire mesh, leading to a persistently high differential pressure (ΔP).
When the automatic flushing cycle can no longer bring the ΔP back to baseline, a manual, deep restoration cleaning is required.
Because Moatti elements feature premium, multi-layer SUS316L stainless steel wire mesh, improper cleaning—such as using harsh wire brushes, scraping with metal tools, or applying excessive water-jet pressure—can permanently destroy the pore uniformity, warp the frames, or tear the mesh micro-welds, rendering a costly element completely useless.
This guide outlines the industry-approved, non-destructive cleaning protocols for both Full-Flow and Diversion (Backwash) Moatti filter elements.
Prerequisites: Safety and Preparation
Before starting, ensure you have a designated, clean workstation in the workshop and prepare the following materials:
- Cleaning Agents: Specialized carbon-dissolving chemical solvents (e.g., Unitor Carbon Remover, Racor Filter Clean, or an approved eco-friendly maritime degreaser).
- Equipment:
- An industrial ultrasonic cleaning tank (highly recommended).
- A clean chemical soaking container (large enough to fully submerge the elements).
- A regulated, low-pressure compressed air gun (≤ 2.0 bar).
- A soft-bristle nylon brush (never use brass or steel wire brushes).
- PPE: Chemical-resistant gloves, safety goggles, and a protective apron.
The Step-by-Step Precision Cleaning Protocol
To completely restore the flow path of a blinded element without causing structural fatigue, follow this four-stage professional method.
Stage 1: Pre-Wash & Structural Disassembly
- Cooling & Drainage: Allow the filter housing to cool completely. Drain the residual lube oil out of the filter chamber.
- Careful Extraction: Gently extract the element halves from the central distributor shaft. Avoid knocking the elements against the sharp metallic edges of the housing.
- Surface Rinse: Submerge the elements in a tray of clean, warm diesel or base oil. Use a soft nylon brush to gently sweep away loose, external sludge layer, heavy soot deposits, and metallic flakes from the outer frames.
Stage 2: Chemical Carbon Dissolution (The Soaking Phase)
Lube oil residue cooks onto filter media, creating a hard carbonaceous matrix that mechanical rinsing cannot dissolve.
- Fill your soaking container with a 1:1 or 1:2 mixture of carbon remover solvent and warm water (or follow the specific manufacturer ratio), ideally heated to 50°C – 60°C. Heat significantly accelerates the chemical breakdown of hardened polymers.
- Submerge the Moatti element halves fully into the solution.
- Soaking Duration: Let them soak uninterrupted for 4 to 6 hours (or overnight if dealing with severe heavy fuel oil or black sludge contamination). This softens the baked-on carbon binding the particles to the SUS316L wires.
Stage 3: Ultrasonic Cavitation (The Core Restoration Step)
Chemical soaking loosens the dirt, but ultrasonic cleaning is the only reliable way to safely extract deeply embedded sub-micron particles from the inside layers of a multi-layer mesh screen.
- Transfer the chemically softened elements into an ultrasonic cleaning tank filled with a fresh, heated degreasing solution.
- Positioning: Place the elements vertically or horizontally on the tank’s internal wire basket. Never let the elements sit directly on the bottom of the ultrasonic tank, as this blocks transducer waves and can scratch the elements.
- Run Time: Turn on the ultrasonic cleaner at a standard frequency (typically 28 kHz to 40 kHz) for 30 to 45 minutes. The micro-bubbles generated by acoustic cavitation will burst directly inside the mesh layers, blasting away the dissolved carbon matrices from the inside out.
Stage 4: Reverse Flushing, Drying, and Inspection
- Fresh Water Flush: Remove the elements from the tank and rinse them thoroughly with fresh, clean water (preferably warm) to wash away all chemical residues.
- Reverse Air-Blow: Use regulated compressed air (≤ 2.0 bar) to blow through the elements from the inside out (reverse of normal filtration flow). This expels any remaining loosened particles outward.
- Drying: Dry the components completely using a lint-free rag or a clean heating oven. Residual water left on elements can cause immediate oil emulsification when reinstalled.
Post-Cleaning Quality Inspection Checklist
Before reassembling the Moatti element halves and placing them back into service, perform this visual and structural audit:
- [ ] The Light Test: Hold each element half up to a strong, clean light source. Look through the mesh layers. The light distribution must be completely uniform. If you spot dark patches, those areas are still blinded by carbon and require further ultrasonic treatment.
- [ ] Mesh Structural Integrity: Inspect the outer micro-welds and mesh junctions. Ensure there are no tears, fraying wires, or separations between the stainless steel mesh and the perimeter support frame.
- [ ] Planarity & Gasket Surfaces: Check the seating faces of the two matching halves. They must be perfectly flat and unwarped to ensure a zero-bypass seal when locked around the filter column.
- [ ] The “Bypass” Test: Ensure no heavy indentations or structural collapses are present on the inner cage core. A deformed core will cause immediate structural failure under high working pressures.
Critical Mistakes to Avoid (The “Never” List)
⚠️ Warning: Guard Your Machinery Against These Errors
- NEVER use a wire brush: Brass, copper, or steel wire brushes will scratch the micro-fine SUS316L wires, altering the micron rating or tearing the delicate weave.
- NEVER use high-pressure washers directly: Blasting a 100+ bar pressure washer closely against multi-layer mesh elements will instantly deform the pleat spacing, compress the filtering pores, and destroy the element’s structural flow geometry.
- NEVER burn off the sludge with a torch: Some old-school techniques involve heating elements with a gas torch to burn away carbon. This is fatal for Moatti elements. The extreme heat destroys the metallurgical properties of the SUS316L stainless steel, cracks the micro-weld joints, and warps the structural geometry permanently.
Conclusion: When to Clean vs. When to Replace
A meticulous, professional chemical and ultrasonic cleaning routine can successfully extend the lifecycle of your premium Moatti filter elements by multiple service intervals, saving thousands of dollars in premature replacement costs.
However, if an element exhibits torn mesh wires, permanent frame distortion, or if the baseline ΔP stays high even after a prolonged ultrasonic cavitation cycle, the mesh has reached its mechanical fatigue limit.
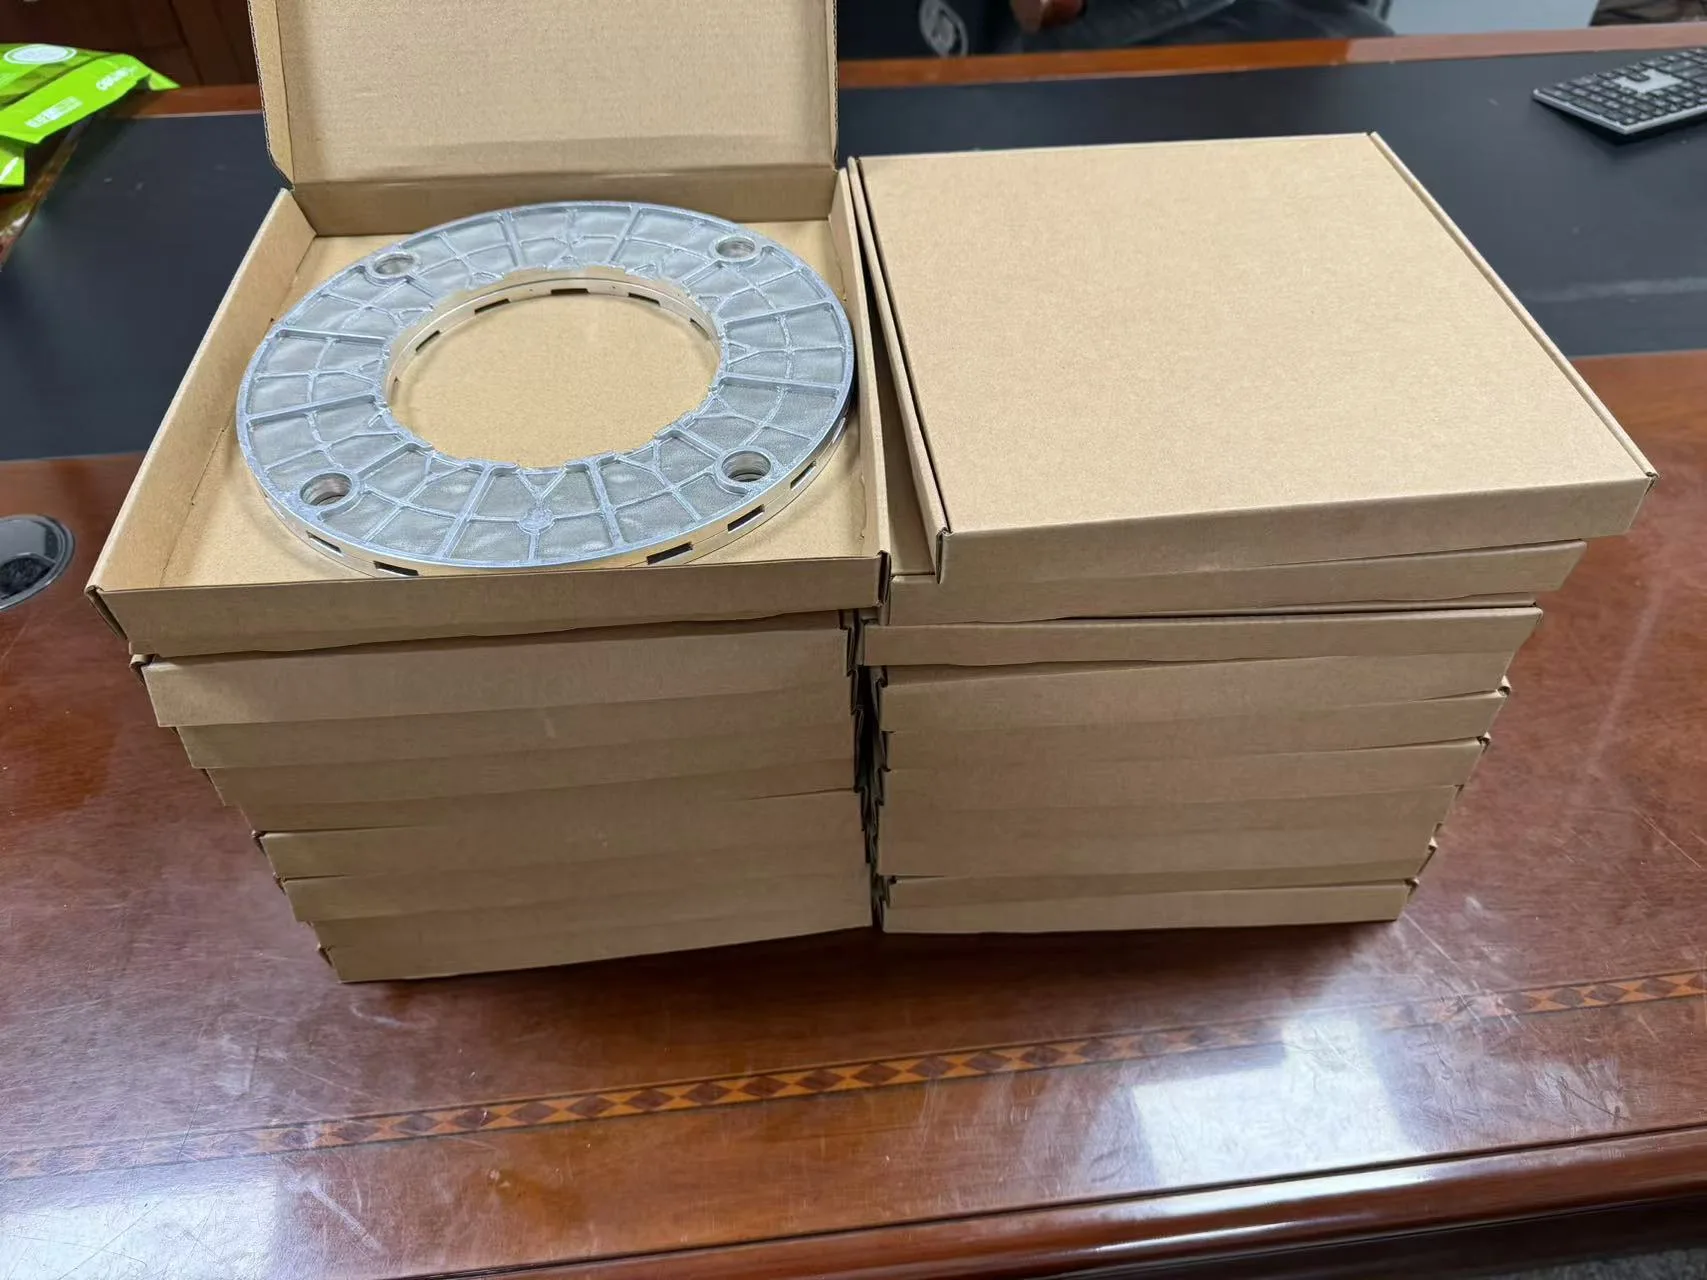
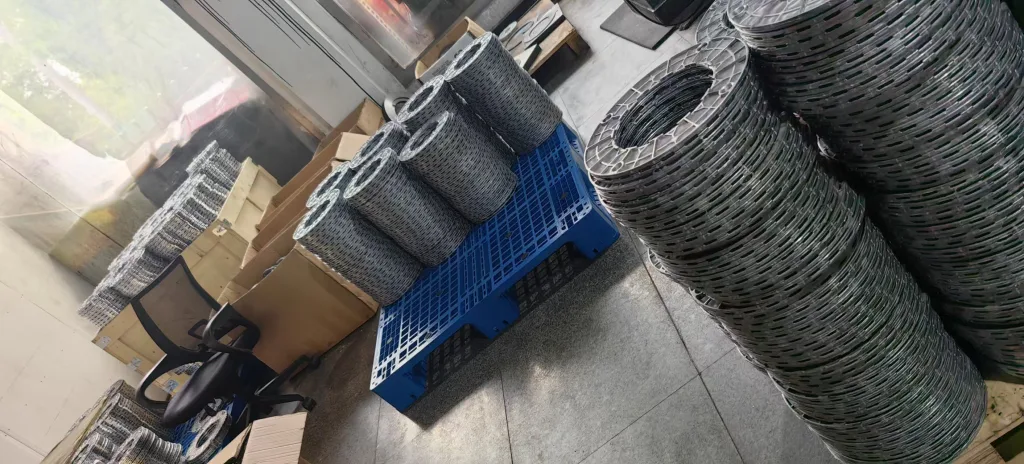
For fleet managers and ship suppliers seeking reliable operational security, Source Filtration supplies premium replacement Moatti elements built strictly to original dimensional specifications. Engineered with high-strength SUS316L multi-layer matrices and robust anti-fatigue micro-welding, our elements deliver a perfect, zero-bypass fit and excellent backwash release characteristics at an advantageous factory-direct price point.